Sunday, October 14, 2012
Saturday, October 13, 2012
Just for a laugh
Every now and again I just have to do something to make myself laugh. The title of this one is called Blind Date.
Wednesday, October 10, 2012
Playing
Keeping it Simple
Donna Downey
Sharing the work of an amazing artist who has never been scared to let go and create no matter what. She really is an inspiration to so many people who enjoy journaling.
You can see some of her incredible work here. Never be scared to take that leap of faith and enjoy the process of self discovery through journaling.
Saturday, October 6, 2012
Altered Brush Project
Donna Downey invited artists from around the world to alter a brush for her new studio. They are all amazing and a wonderful way to blog hop.
Oh... and it was Eezy Peezy.
Wednesday, September 26, 2012
Japanese Box
Okay so this has nothing to do with journals. I found this little japanese type box and was fascinated to see how it was made, so I had to buy one. Low and behold it is made from a Coca Cola bottle, how cute is that. Quickly going to share it with you and then back to journaling.
Okay so it is as simple as this.
When you have enjoyed your Coke - I mean Coca-Cola, all you have to do is cut off the top part. There are lines down to the curve in the bottle. Only cut down to the curve or it won't shut properly.
Then round the corners of the top so that it not only looks nicer, but closes better.
Once you have mastered your little box all you have to do is cover the box with a paper serviette. The little red one was done with modge podge which makes it sticky so the next one I made I used spray adhesive and then varnished it... Voila.
Now back to Journals.
Completed Eezy Peezy Journal
Monday, September 24, 2012
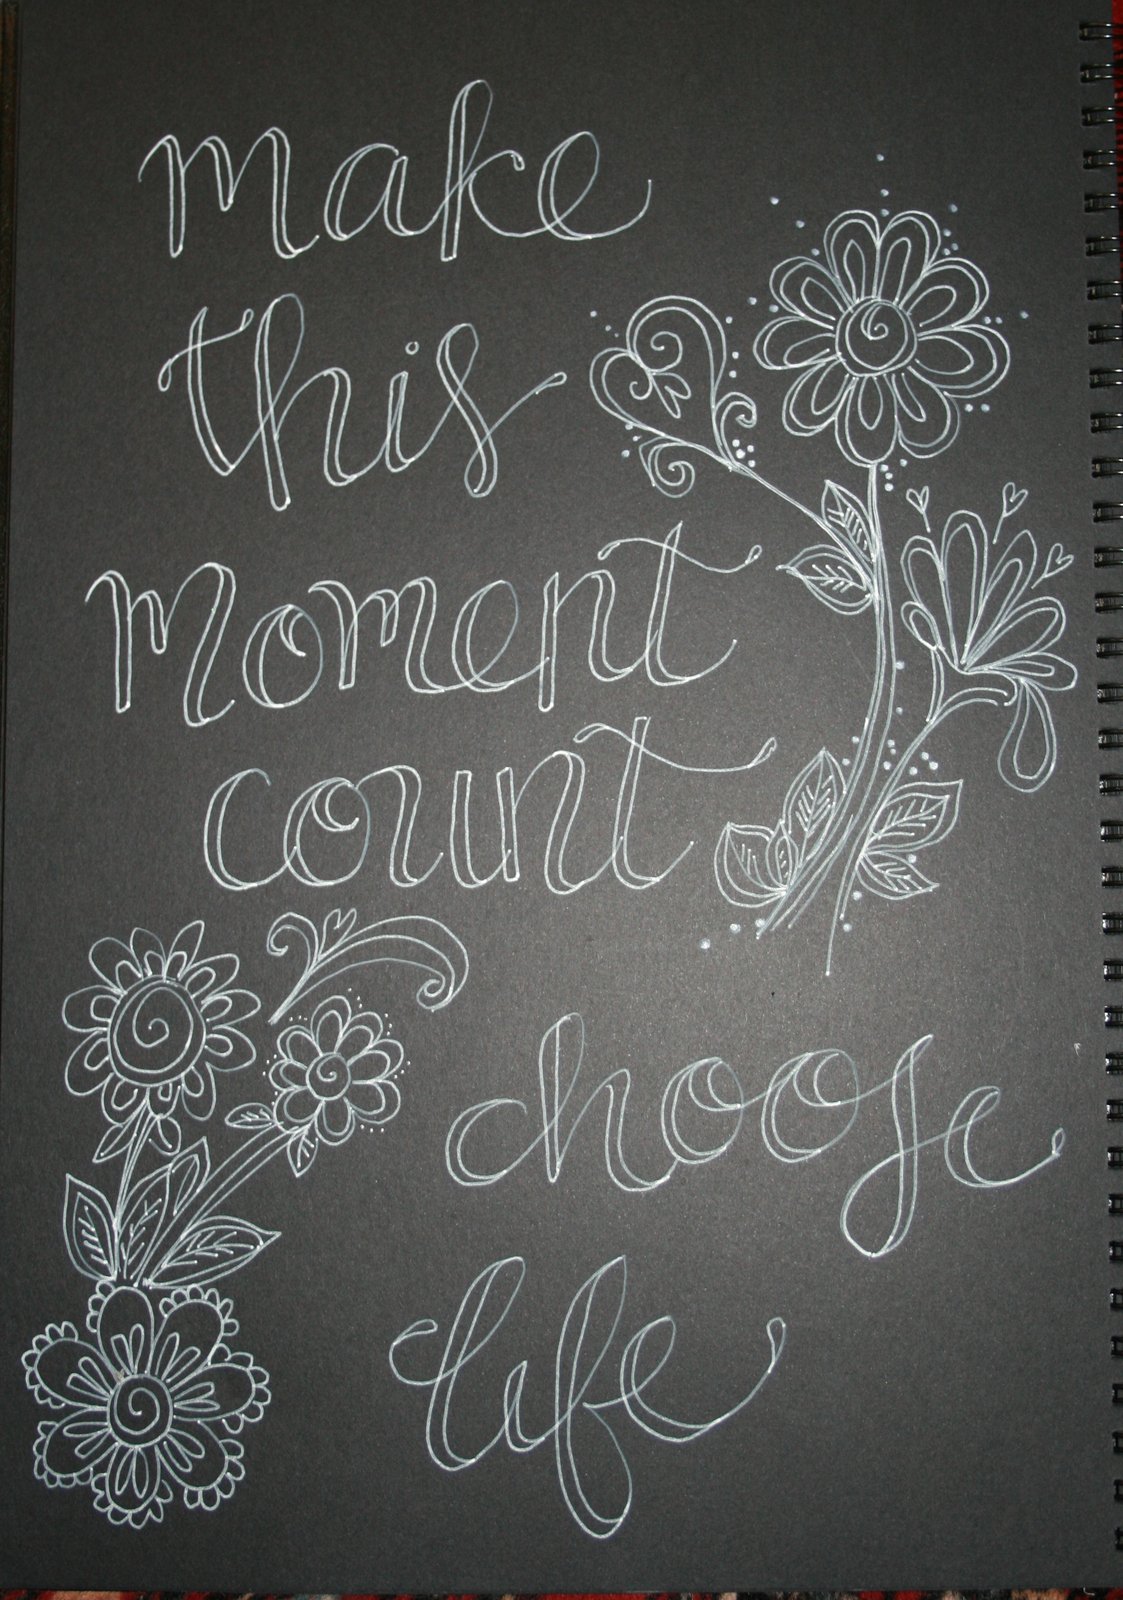
Zentangle -Doodles
There are so many products you can use in your journals, buy them, try them and give them away if you don't like them. There are about 4 different white pens that I use in my journals, some I like and some I don't, but that doesn't stop me using them. If you have bought a white pen or marker try using it on different backgrounds for the best effect, paint and paper can make all the difference.
Spot the problem
Practice Fonts
Doodle Fun
Friday, September 21, 2012
Introducing Friends
Before I really get started with Eezy Peezy Journals and all the samples I will be giving you of different things to do with them, I wanted to introduce you to by far one of my all time favourite artist friends on the internet. DJ Pettitt is the kindest, sweetest and most talented artist I have met in a long long time.
I did an online Photoshop course with her a couple of years ago and her spiritual eyes and the way she interprets things through art and photography and of course her famous journals is just incredible. If you don't know DJ here is an interview with her and a couple of other amazing artists well worth following if you are on a journey of discovery.
The first time I saw one of DJ's journals I almost wept. Her work has more soul than you can imagine and to own one of her journals is a blessing beyond belief. She blessed me with two and I will treasure them for a long time.
Loving Sharing
Okay now that I have reinstalled most of the blogs I follow you can feast your eyes on the wonderful art work from around the world. Everyone has a different style and I have no problem with anyone copying any of my work so if there is anything you would like to ask please leave a comment and I will get back to you as to the how and why.
Have a wonderful weekend.
Wednesday, September 19, 2012
Eezy Peezy Journals are FINALLY HERE
32 decorated pages Colourful memories Bookbinding instructions with materials
MAKE YOUR OWN ART JOURNAL
A journal is filled with yesterdays memories, today's joy and tomorrows
dreams,
Art makes your heart smile.
Click on images for a larger view.
You are simply going to love this. Everything is contained in this package to help you make a beautiful Eezy Peezy Journal. should you purchase one, please let me have some photo's that we can share your wonderful talents.
Contact Caryl: carylw3@mweb.co.za for price and more details.
Roses from my love
A Rose is a Rose
This page is not typical of an Eezy Peezy Journal page it was a challenge by a fellow journal addict Ansota, you can find her blog here. She specified what was to be used and this is the result so far.
To explain the process:
Step 1 First I used green and red acrylic paint on two pages which I then rubbed together to get the texture. Watered down black acrylic paint was washed over various parts just to dull it a bit.
Step 2 A serviette with roses was randomly placed on the right hand page with nothing particular in mind.
Step 3 Washed over again with watered down black to take any shine off the page and dabbed with carlton paper.
Step 4 Let everything dry and then stand back to see if anything comes to mind and I saw a face on the right side of the page in between the roses.
Step 5 The face was painted and the roses in her hair looked a little off balance so I added another one on top.
Step 6 Go to bed ;o)
Step 7 Stencil was placed over both pages and gently dabbed onto the page, I didn't want it to look flat so it has a slight graduation of colour.
Final step.... wait and see.
Subscribe to:
Posts (Atom)