
Place pins at all the appropraite spots that you can see on this diagram. Then take some black cotton and wrap the cotton around the pins so that you are dividing the ball up into segments as you can see in the drawing below.
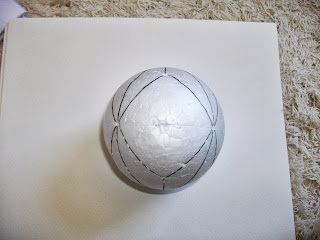


When you have finished wrapping the cotton around all the pins in the design that you want, take a pen and mark off where the cotton was as you can see below. Then take a craft knife and cut into the ball.

Take pieces of tracing paper and trace each segment. Add an exra half a centimeter all the way around so that you can push it into the parts that you have cut. See example below. I use the back of a knife to push the material though. Not the sharp side the blunt side of the knife.


Mix and match quilting materials to finish off the Obi Ball.
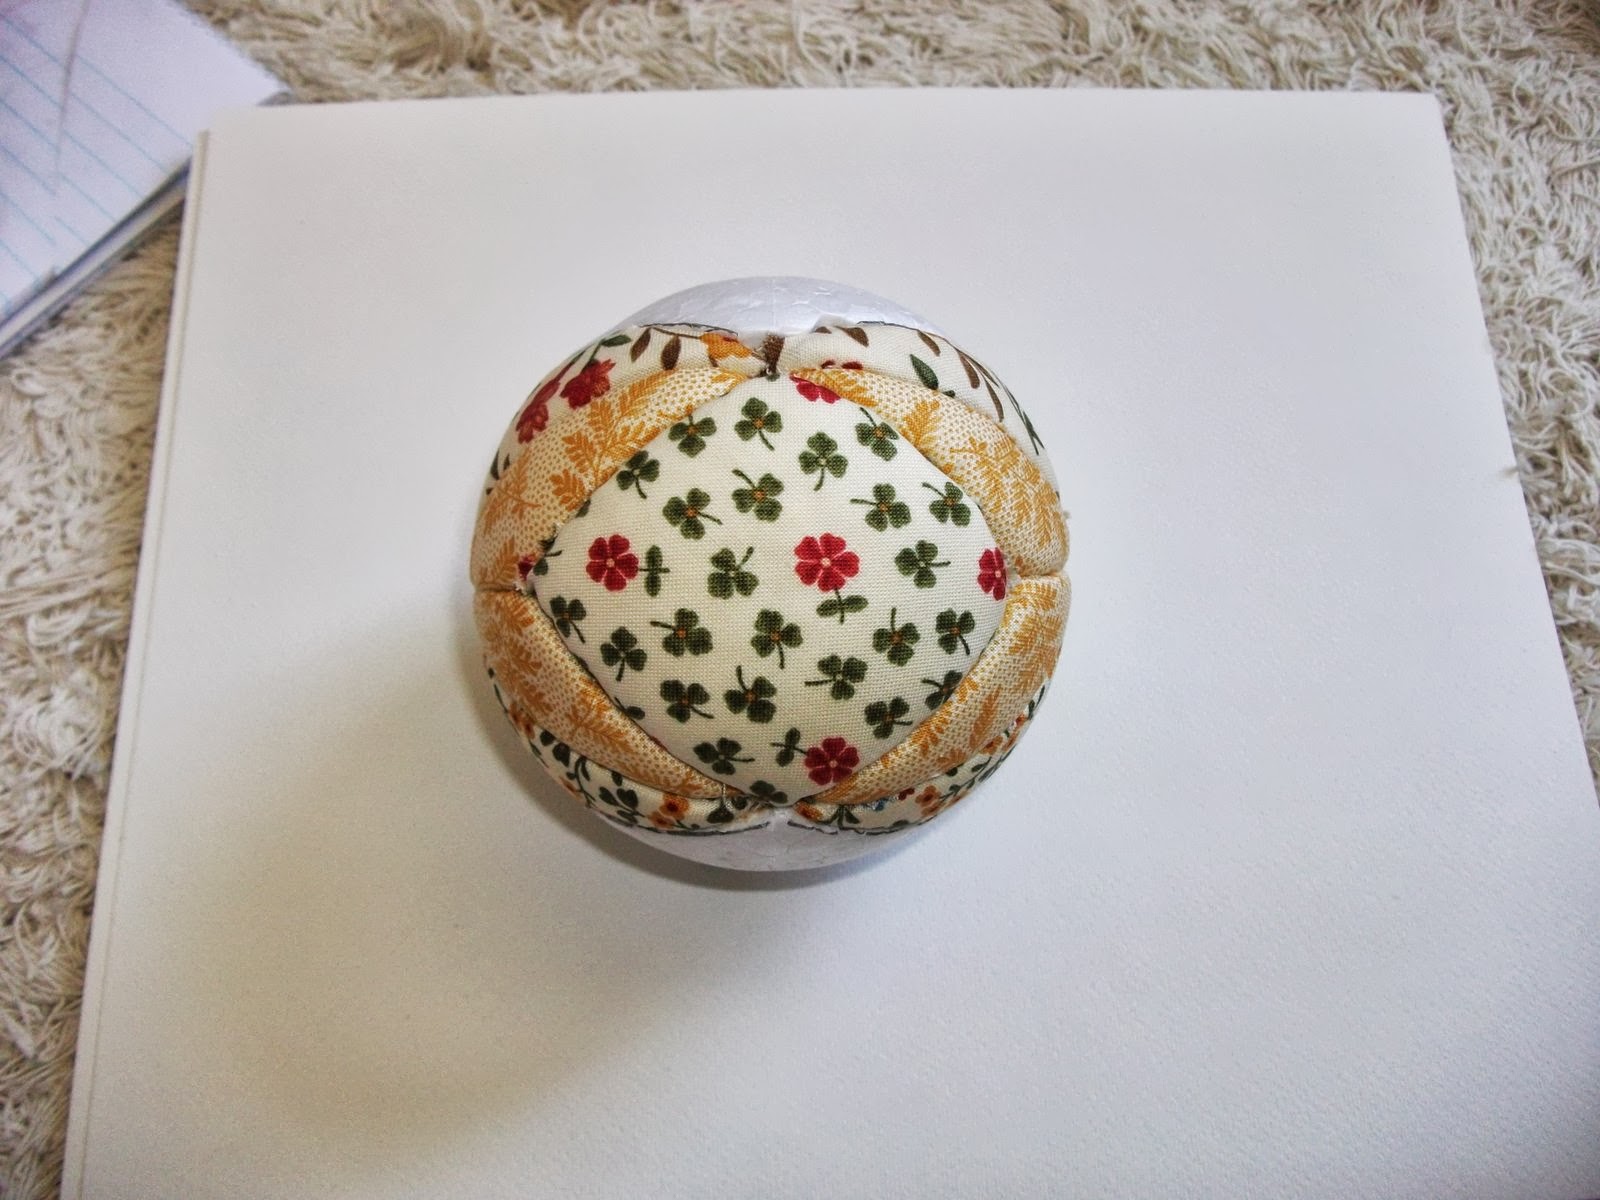

When you have finished wrap thin ribbon or cord around the ball covering all the lines. Good luck I hope this helps. If you have any questions leave a comment and I will get back to you.

No comments:
Post a Comment